
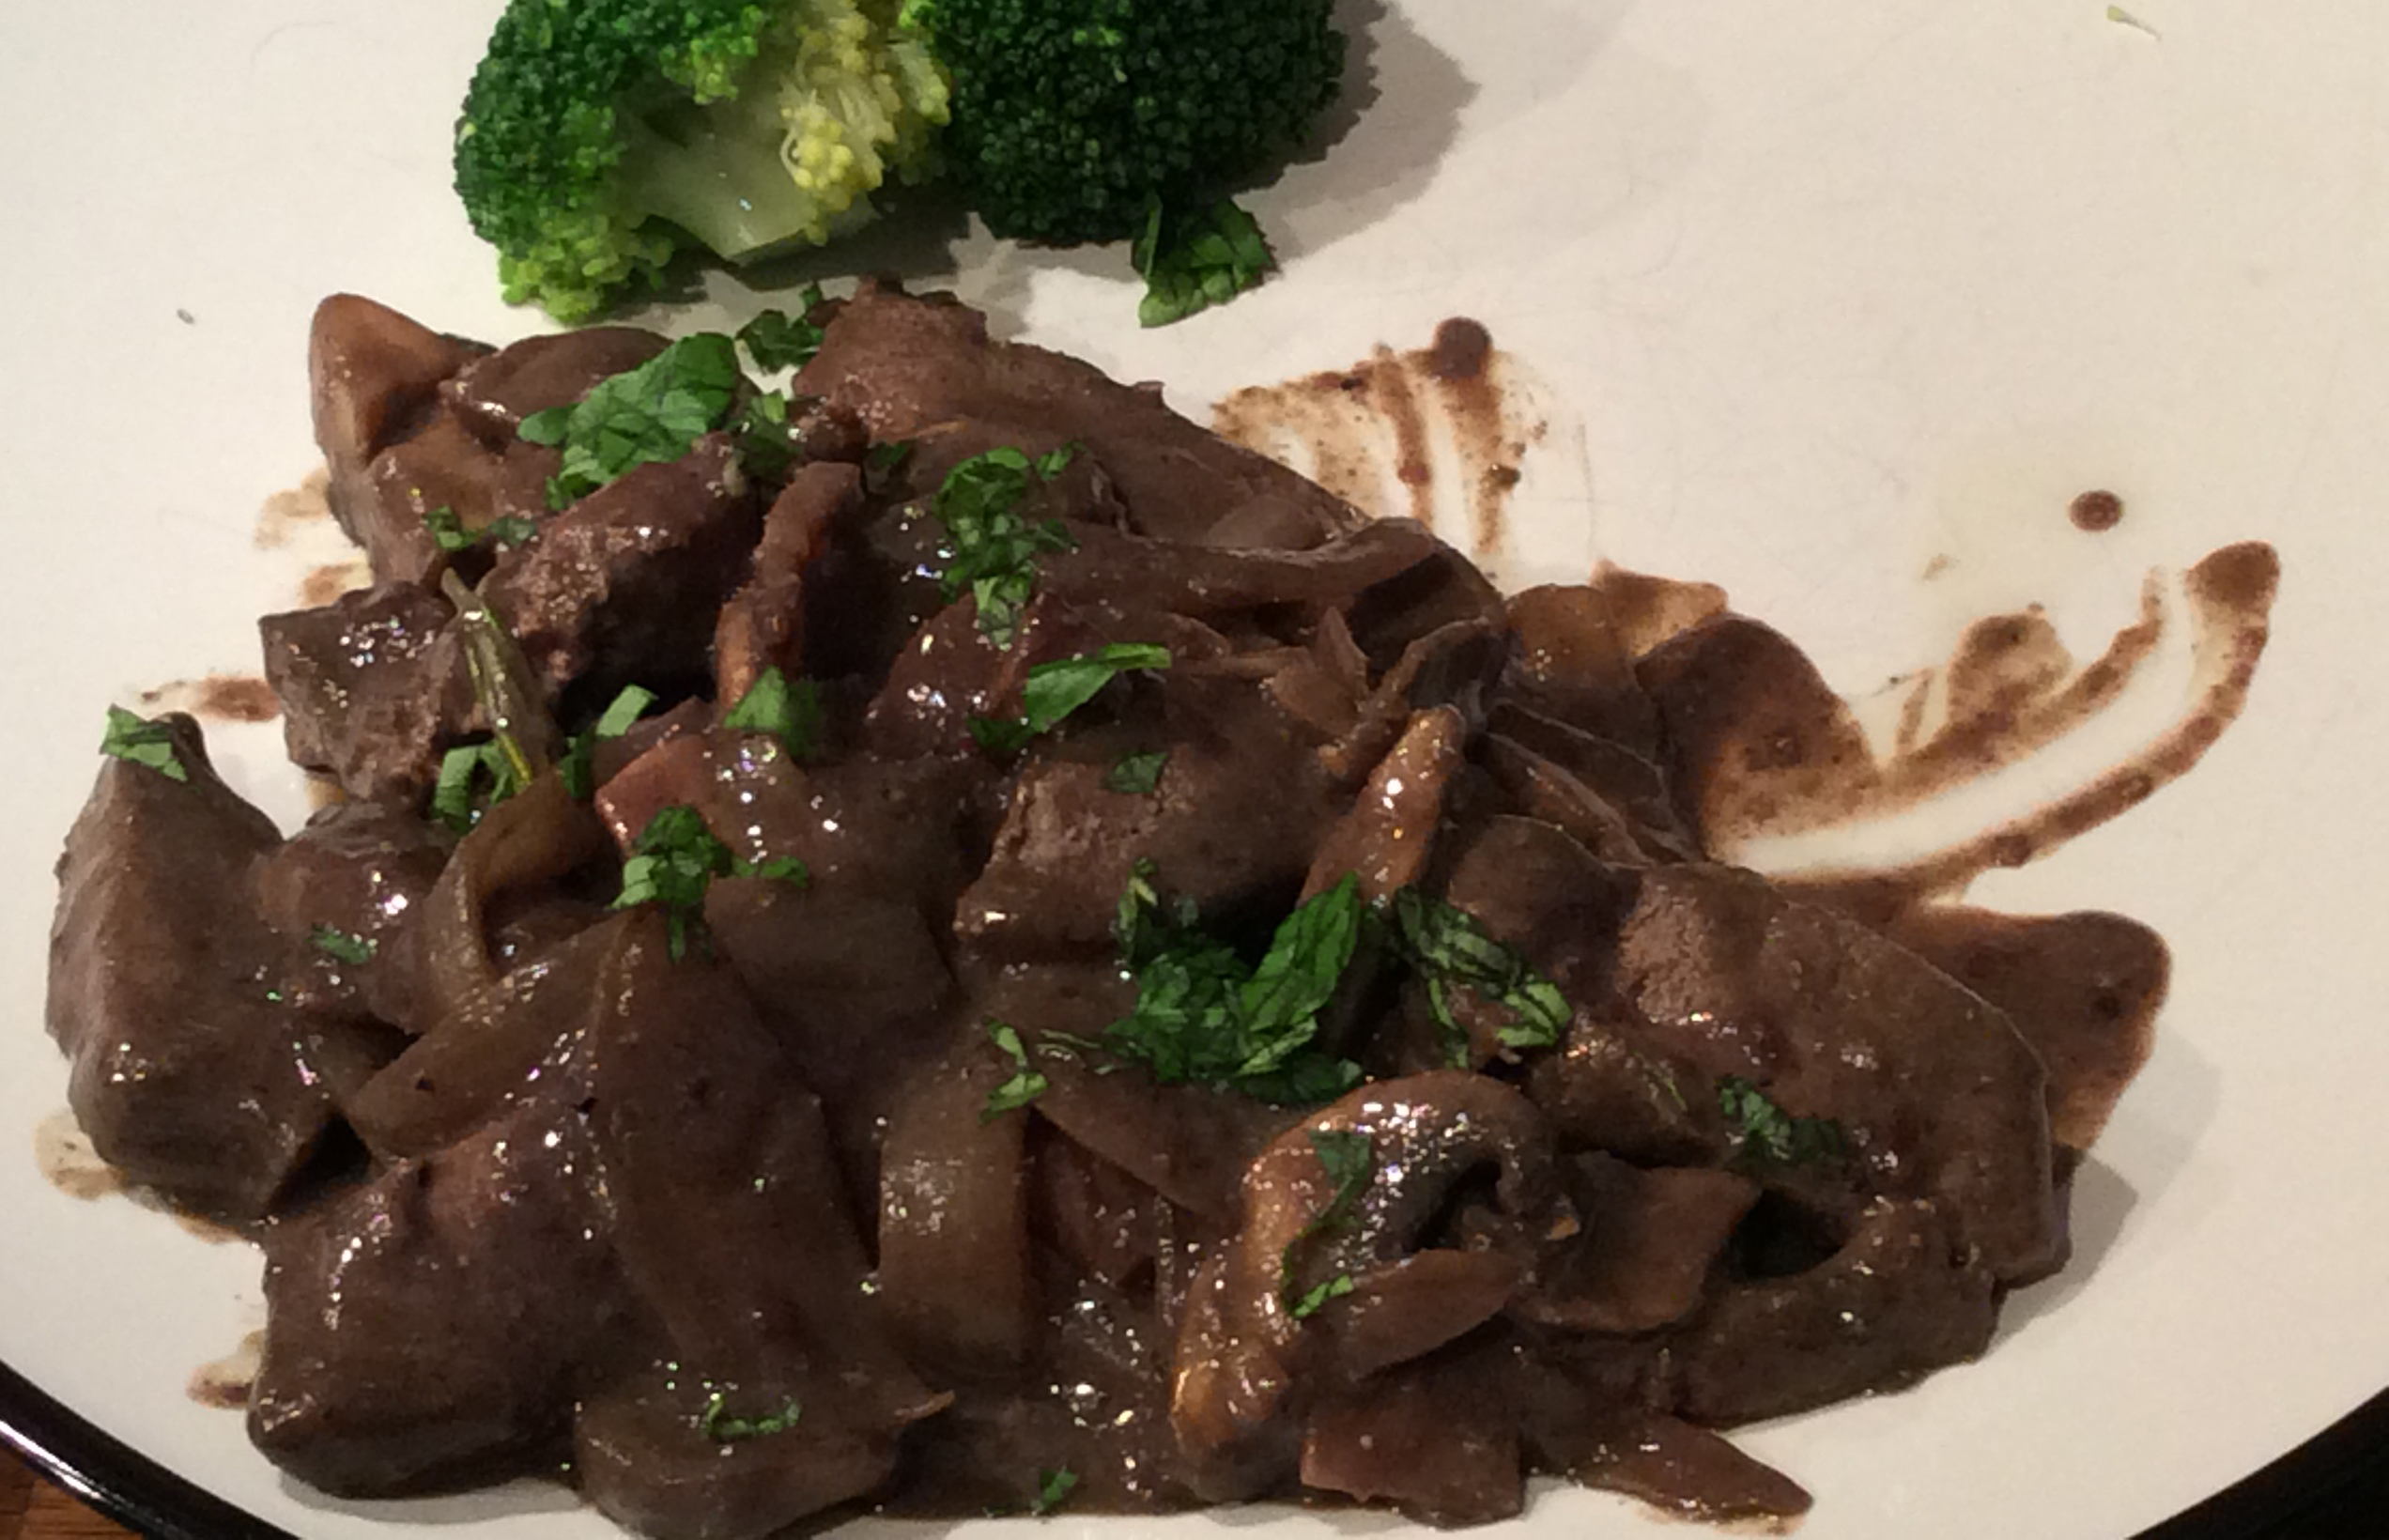
I have eaten goat before but only as part of a highly spiced curried Jamaican style dish. I have certainly never cooked with it. So when Emily, fresh from a trip to our local butcher (Chartfarm, Kent), bought some English reared goat I decided to try something a little different.
She came back with a whole shoulder, which looks a little bit like lamb but somewhat darker and ‘gamier’. I thought that I would slow cook it in a similar way to a lamb we had some weeks earlier. Before I go into the specifics of the recipe it have to admit that it was not totally successful. Despite cooking the goat for over 8 hours it was still a lot tougher than the previous lamb version, which literally fell off the bone, and was still overly fatty. It also has to be said that, for me personally, I was not that impressed with the flavour of the meat itself. It might sound a little obvious but the meat smells and tastes distinctly ‘goaty’, despite all of the spices used. Really, the take home message here is – you can buy British reared goat meat, and that’s great, but you might be advised not to.
So ultimately, this is a recipe in that I am going to suggest you do not try but if anyone does have a great goat dish that they think will change our opinion of this meat we will gladly give goat another go (comment below).
Ingredience
- 1.5 kg goat shoulder
- 4 garlic cloves, peeled
- 1 whole chopped preserved lemon
- 2 tbsp baharat (Lebanese seven spice)
- 1 tbsp salt
- 60 ml (¼ cup) butter
- 1 tbs Black peppercorns
- 5 Cardamom seeds
- 5 Cloves
- 1tbs Coriander seeds
- 1tbs Cumin seeds
- 1tbs smoked paprika
- 2 celery sticks
- 1 large carrot
- 1 red chili
- 2 handfuls of mixed fruit
- 200ml veg stock
Method
Mix the garlic, spices and salt in a pestle and mortar along with the butter to make a thick paste. Then rub the resultant mixture on the goat after scoring the surface of the meat with a sharp knife. Leave the goat for at least 3 hours in the fridge or, ideally, overnight.
Preheat the oven to 160°C or 14°C in a fan assisted oven. Prepare a foil parcel large enough to accept the meat. Chop the veg and place half in the bottom of your foil parcel. Put the goat on top and then throw the remaining veg and mixed fruit over the top of the meat. Place the goat in a deep roasting pan, pour stock into the pan and roast for 8 hours or until the meat falls off the bone easily.
Serve with couscous.
– James

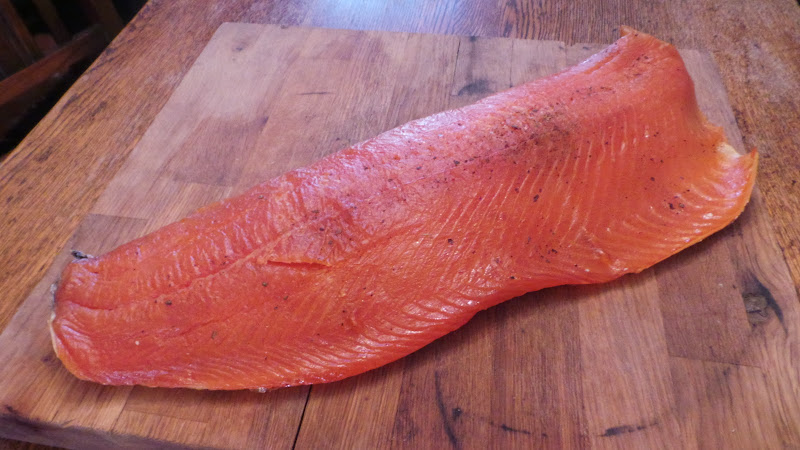 Smoked salmon is now a festive favourite, especially if it is home-smoked. Many people are scared of having a go at smoking at home but it is actually far easier that you would imagine.
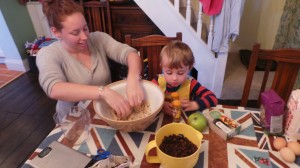 The last Sunday before Advent is traditionally called stir up Sunday. On this day it is a British tradition for families to get together and prepare their Christmas treats. Christmas pudding, Christmas cake and mince meat ready for your mince pies essentially use the same basic ingredients. As such if you are going to make one of these festive favourites you might as well make them all at the same time.
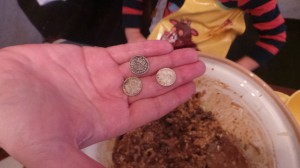


 Ingredients:
 Ingredients:
 Ingredients:
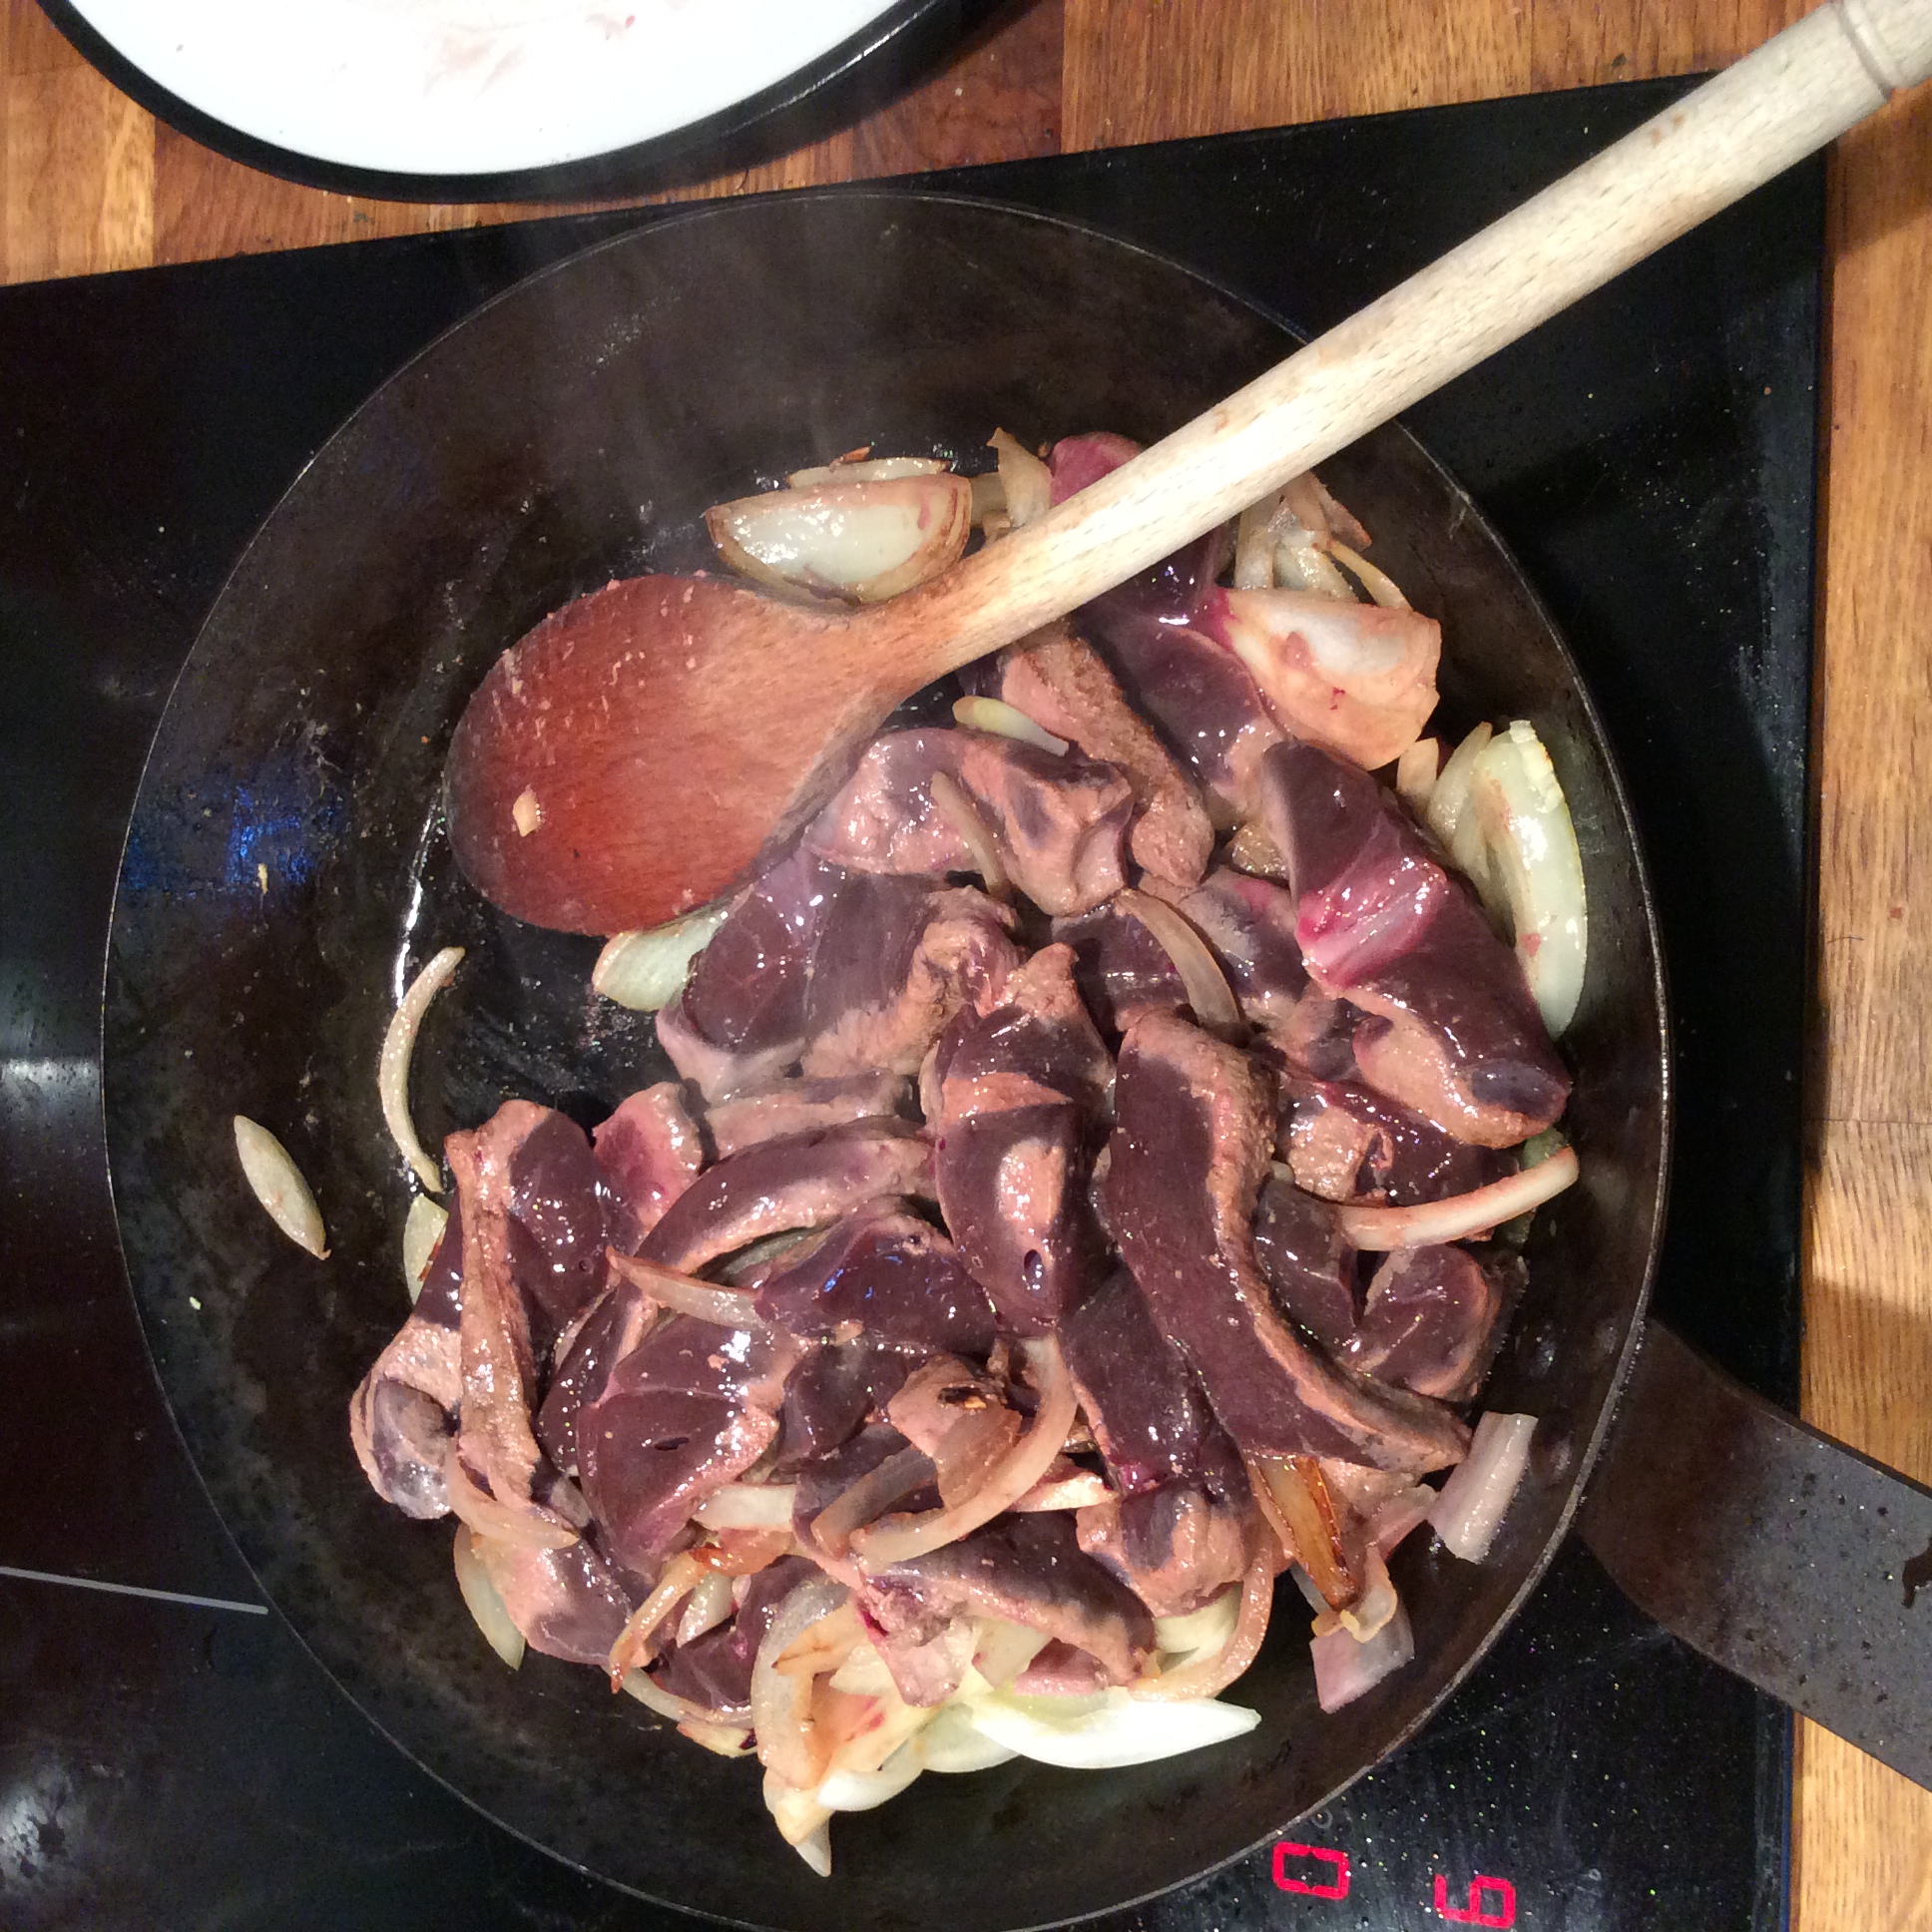

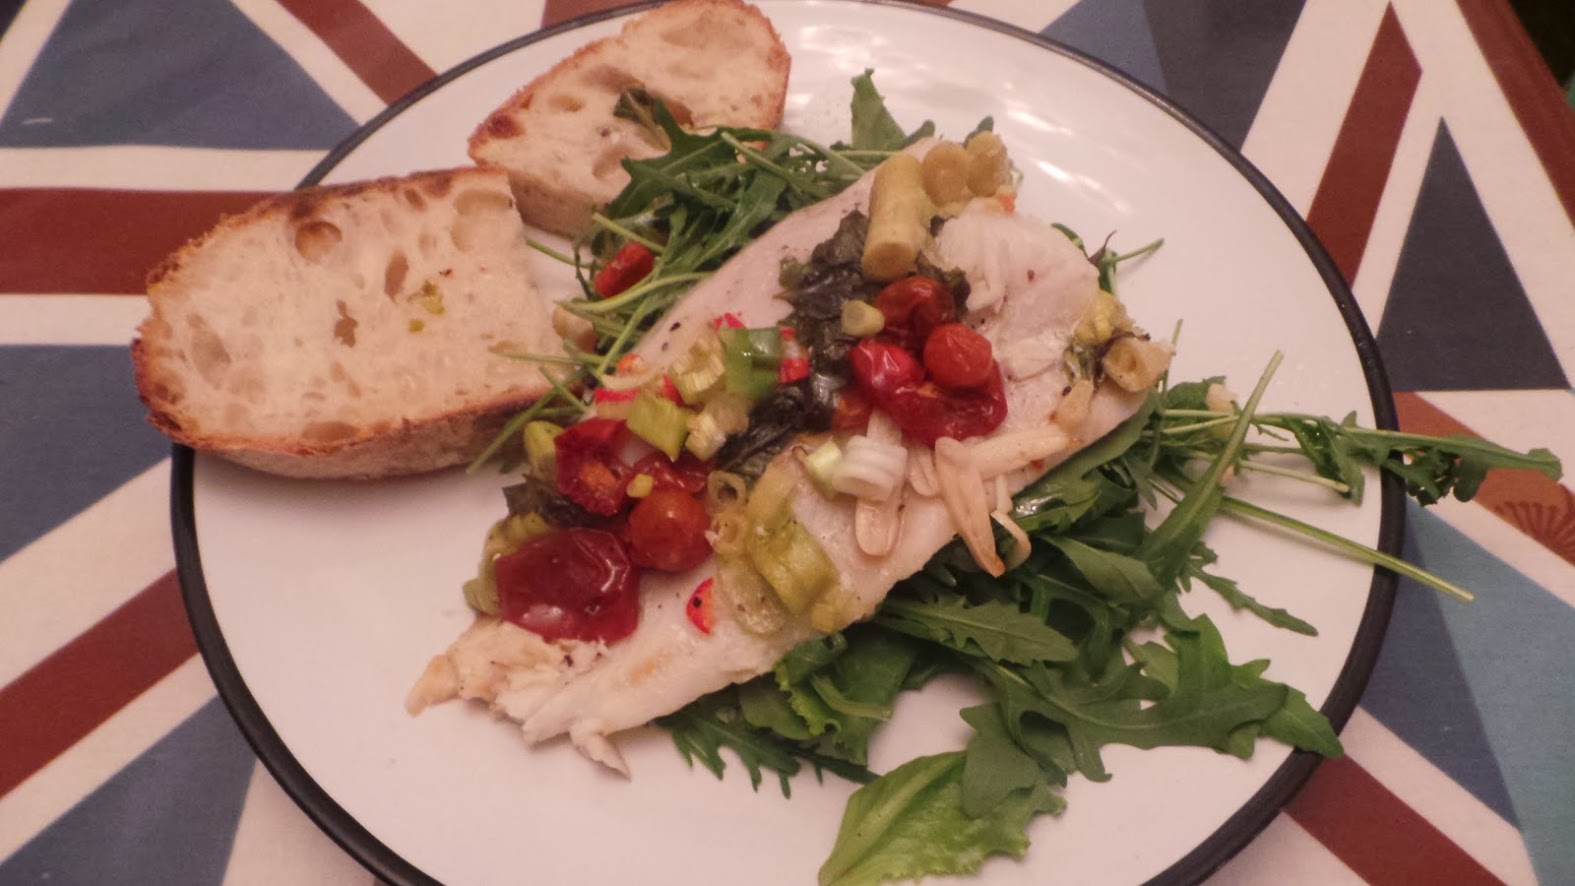
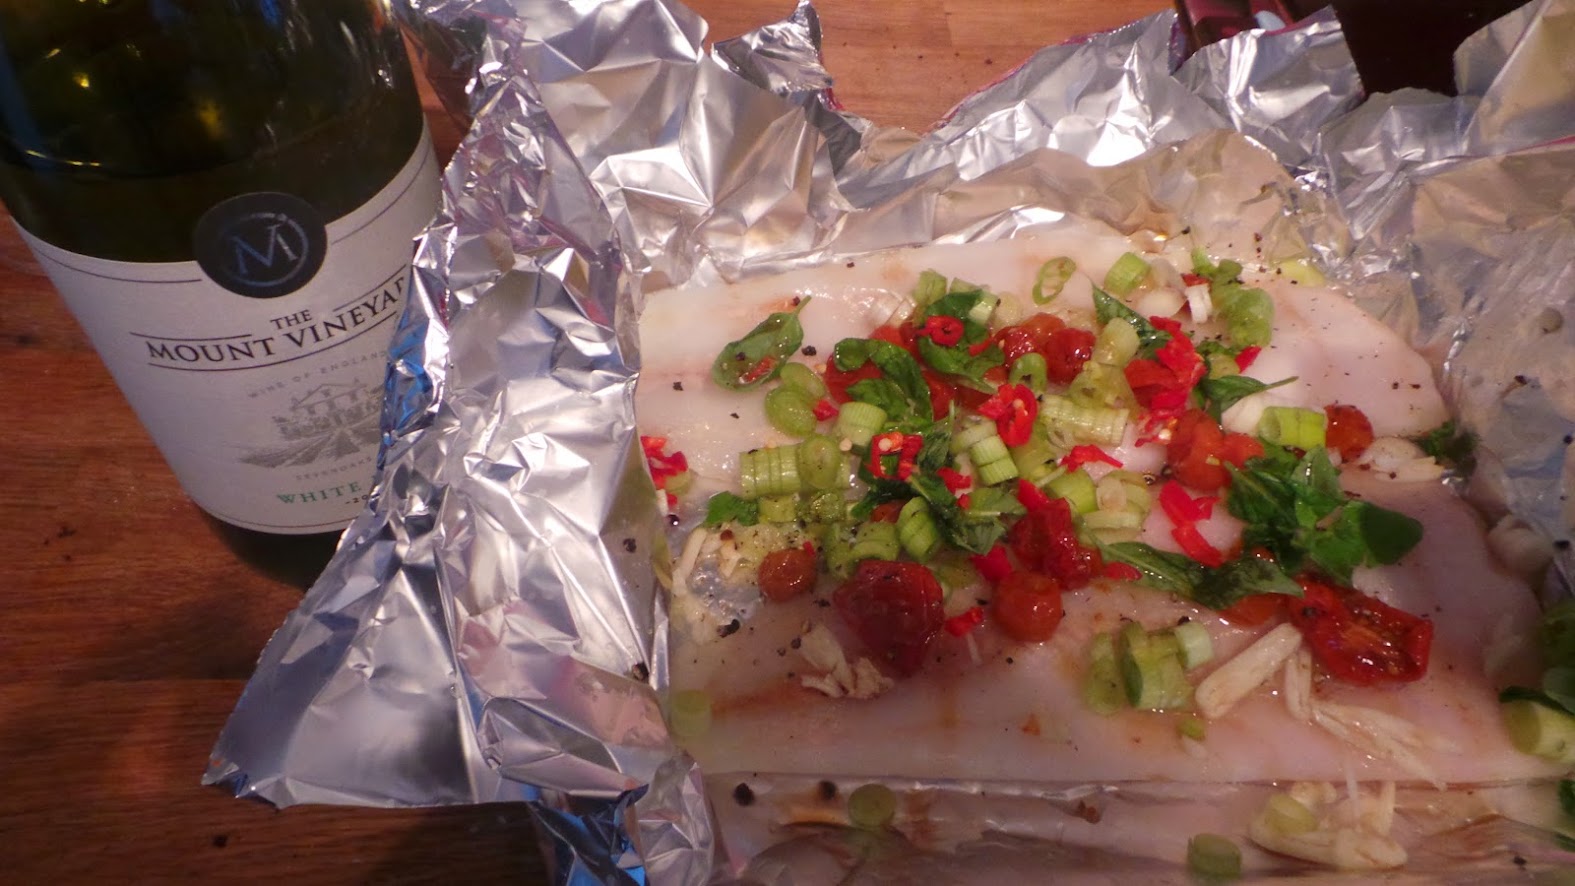 Spicy Hake